Wearing a glueless lace wig well is a skill anyone can learn with the right prep, technique and tools. This detailed guide is written to help beginners master how to put on a glueless lace wig safely and comfortably while achieving a seamless, natural-looking hairline and a secure fit that lasts throughout the day. Read on for a stepwise approach, useful tips, styling advice, troubleshooting solutions and maintenance recommendations designed to improve both appearance and longevity of your wig.
Glueless lace wigs remove the need for liquid adhesives or tapes that can irritate the skin, making them an excellent option for sensitive scalps, quick styling changes or frequent wearers. A glueless install relies on mechanical features—such as adjustable straps, combs, clips, elastic bands and wig grips—plus proper sizing and hair preparation to stay snug. Learning how to put on a glueless lace wig correctly ensures comfort, safety and a convincing natural hairline without glue residue.
Proper preparation of your own hair and scalp is the foundation of a secure glueless install. Follow these preparatory steps every time:
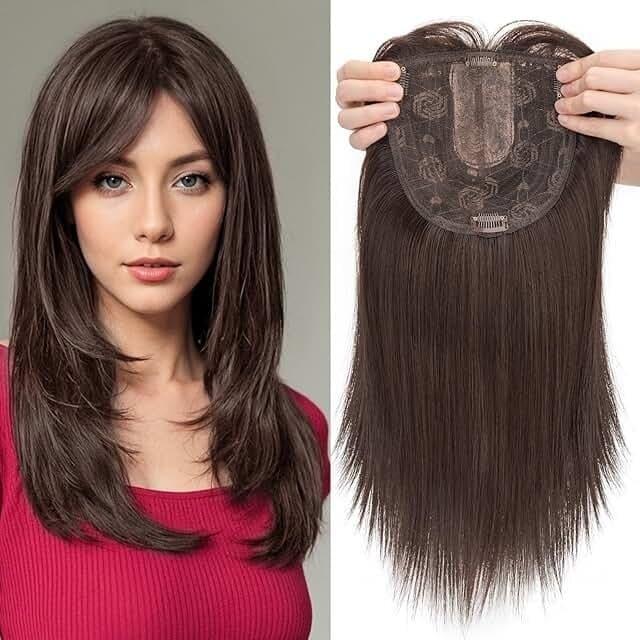
Before placing the wig on your head, place it on a wig stand or mannequin head to style and prepare the lace. Trim the excess lace carefully along the natural hairline, leaving a few millimeters of lace margin—don't cut too close to the hairline until the wig is secured. If desired, thin the hairline with plucking for a more natural look and bleach the knots for realism. Always perform bleach and chemical processes prior to wearing to avoid scalp irritation during installation.
Hold the wig by the nape with one hand and the front with the other. Tip your chin slightly down and align the front lace with your natural hairline. Ensure the ear tabs meet just above your temples and that the lace lays flat against your forehead. Use mirrors or a handheld mirror to check alignment from both sides.
Most glueless wigs have adjustable straps at the nape. Tighten them for a snug fit—comfortable but not painfully tight. If the wig has sewn-in combs or clips, gently slide them under your wig cap or into the hair base (braid or bun) to anchor the wig. Anchor points should be used sparingly to avoid pressure points.
The elastic band (sometimes called a wig band or durag band technique) offers a semi-permanent glueless hold that mimics the fit of glued units. To use it: measure and cut an elastic band to fit comfortably from one temple to the other under the ear tabs; sew or loop it into the inside of the wig from ear-to-ear using a curved needle if necessary. With the wig aligned, pull the elastic band under the back of your head and fasten it so the wig sits snugly and the lace lies flat. This technique significantly reduces movement without adhesives.
If you prefer not to sew an elastic, a separate wig grip headband provides friction between the cap and your head. Put the grip on before placing the wig; press the wig onto the grip and adjust evenly. A silicone-lined grip is ideal for those with fine hair or heavy wigs because it prevents sliding.
Once the wig is secure, create a natural transition at the hairline. Gently pull out a few frontal hairs from the wig (cut small pieces from within the lace line if necessary), or style baby hairs using a thin brush and edge control gel. Lightly apply concealer or foundation along the lace with a small brush to match your scalp color and blend the lace into skin. Use a low-heat dryer or hooded dryer on a short burst to set the edges if needed.
Smooth the parting area with concealer and apply a tiny amount of mousse to the hairline to tame flyaways. Check fit by shaking your head gently—if the wig shifts, revisit the internal straps, combs or elastic band and adjust. Trim any excess lace at the temples carefully after the wig is fully aligned and secured. Style with heat tools or products recommended for the wig's hair type (synthetic or human hair) and enjoy your finished look.
Not every head or wig requires the same approach. Consider these additional glueless methods depending on your needs:
Blending and detail work distinguish a good install from a great one. Use subtle, natural techniques:
Even with careful technique, you may run into issues. Here are common concerns and fixes:
Follow these practical tips to maintain comfort and stability while wearing a glueless lace wig:

Proper maintenance extends the lifespan of human-hair and synthetic lace wigs:
If you encounter movement only at the temples, add small combs or apply a non-damaging double-sided tape discreetly only at those points if skin tolerance allows. For heavy wigs that shift during activity, distribute weight by adjusting the cap, adding internal padding at the crown, or using a stabilizing elastic that connects ear-to-ear. For thin or short natural hair where combs cannot anchor, a silicone-lined wig grip often offers the best friction without adhesives.
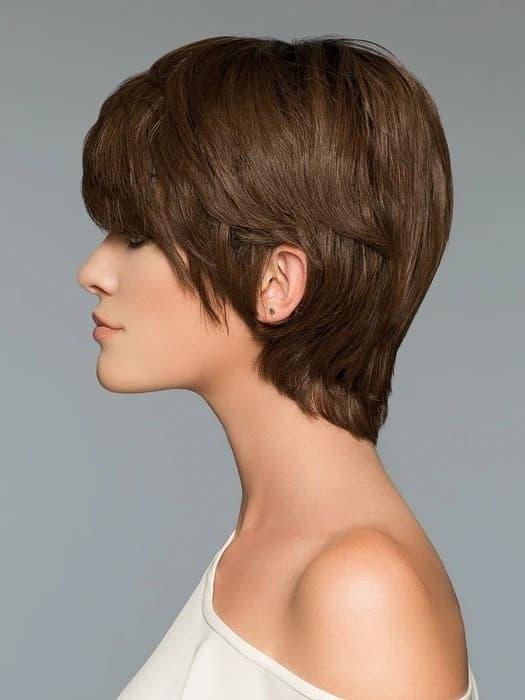
Once secure, personalize your wig to match your aesthetic. Try soft waves for romance, a sleek middle part for sophistication, or a high ponytail (if the wig is reinforced at the nape). Color techniques, lowlights, highlights, and custom cuts make the unit uniquely yours; perform all chemical and cutting work off-head and by a professional if you're unsure.
Because you are avoiding glue, a glueless approach reduces allergic contact dermatitis risk. Still, practice good skin care: keep your scalp clean, treat irritation promptly, and avoid tight straps that impede circulation. If you experience persistent redness, swelling, or pain, remove the wig and consult a dermatologist.
If your front hairline begins to lift after several hours, first inspect the wig placement and internal straps. Often a tiny reposition and tightening are all that’s needed. For persistent lifting, add silicone-friendly dots inside the cap (sold as non-permanent wig grip stickers) or sew in an elastic band to keep consistent pressure along the perimeter. Avoid over-securing to prevent discomfort and maintain scalp health.
For those seeking a salon-level finish, professional customizations include: bespoke plucking for ultra-natural density, lace tinting for precise color match, ventilating (re-knotting) specific areas for baby hair, and sewing in an adjustable elastic band that is both discreet and strong. These services elevate the look and minimize day-to-day adjustments.
Learning how to put on a glueless lace wig is about preparation, fit and detail work. With a proper base, the right tools (elastic band, wig grip, combs and adjustable straps), and simple finishing touches—like plucking and concealer—you can create a realistic hairline and a secure, comfortable fit without glue. Practice makes perfect: each time you install your unit you'll gain faster placement, better customization and greater confidence.
A: Yes, many people wear glueless wigs daily. Rotate units when possible, maintain scalp hygiene, and ensure straps and elastic are adjusted to avoid pressure. Regular cleaning of both wig and cap helps reduce odors and product build-up.

A: A properly fitted glueless wig—with an elastic band or silicone wig grip—can be secure during moderate activity. For intense workouts, consider additional anchoring (sewn-in elastic or discreet combs) and choose a wig with a snug cap design.
A: Trim the lace carefully, pluck for a softline, match scalp color with concealer along the part, and create subtle baby hairs to mask the transition. Using a thin layer of mousse along the perimeter helps the lace sit flatter and look more natural.
Mastering the steps detailed above will help any beginner or intermediate wearer answer the central question of how to put on a glueless lace wig with confidence. Practice the techniques, maintain your wig and scalp, and explore small customizations to make each install uniquely yours. Good luck and enjoy the freedom and versatility that glueless lace wigs provide!