Whether you are new to lace, hair integration, or you are a seasoned wearer seeking a better, longer-lasting application, this in-depth resource explores practical steps and expert techniques to buy, prepare, install, and style a frontal wig that looks like your own hair. The content below covers product selection, pre-installation customization, multiple application methods, styling tips for a believable hairline, aftercare, and troubleshooting so your frontal stays secure and beautiful for weeks or months depending on the method.
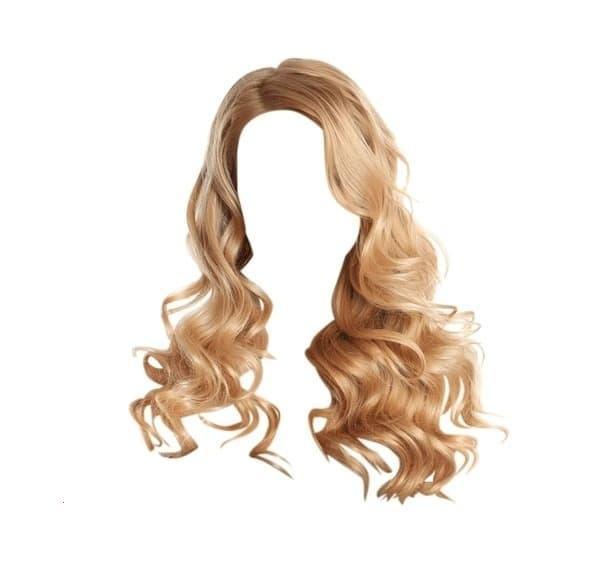
A lace frontal or full frontal offers edge-to-edge hairline coverage, allowing more styling freedom than traditional closures. A quality frontal wig creates the appearance of scalp at the hairline, permits deep parts, and supports updos, ponytails, and baby hairs for a natural finish. Choosing the right frontal can transform your look, but success depends on selection, preparation, and technique.
 Remy human hair holds heat-styling and dye better. Virgin hair keeps cuticle alignment intact. High-grade hair improves realism for a frontal wig.
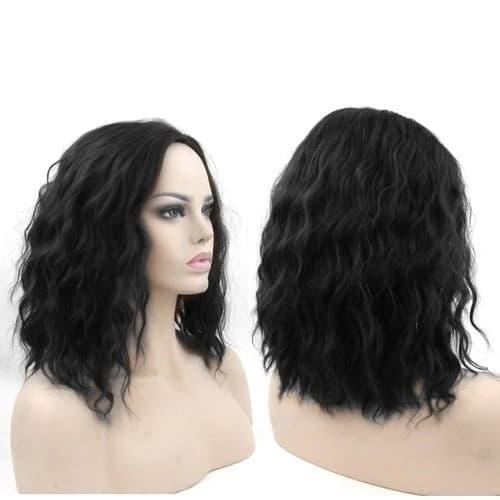
Customization is the secret to a believable frontal. Even factory pre-plucked hairlines benefit from light work. Follow these steps for a refined finish:
1) Bleach and tone knots if you plan to lighten the knotted base for a scalp-like appearance—always perform a strand and small area test. Bleaching the knots reduces contrast but requires careful timing to avoid shedding.
2) Pluck strategically: use tweezers to remove a few strands from the hairline in small sections. Avoid over-plucking; leave slight density for baby hair texture. Create an irregular hairline—real hairlines are not perfectly straight.
3) Thin near the temples: natural hairlines taper at the temples and around the ears. Remove a few hairs there to replicate that taper.
4) Tint the lace: apply foundation, lace tint spray, or concealer to the underside of the lace to match your skin tone. Use light layers and blend where the lace meets skin.
Adhesive installation gives the slickest, most natural lay but requires patience and hygiene. A properly applied glue or tape can provide a firm bond for days to weeks depending on activity and care. This method is ideal for those prioritizing a melt-in finish on their frontal wig.
Clean the perimeter with alcohol to remove oils. Apply a scalp protector if you have sensitive skin or plan to wear glue. Allow each product to dry thoroughly—adhesive will not adhere to moisture.
Position the frontal wig and mark where the lace will sit with a white eyeliner or clip. Trim excess lace from the front, leaving 1–2 mm beyond the hairline to allow for blending.

Sewing a frontal wig onto braided cornrows or a wig cap provides secure long-term wear and is often preferred for heavy styles. A hybrid method—sewing the bulk and gluing the front—combines security and a melted hairline. When sewing a frontal wig, consider adding an elastic band for extra hold and to reduce tension on the edges.
Crafting baby hairs is an art. Use small, precise cuts to shorten hairs along the hairline, then style with a light gel or fiber spray. Avoid using heavy mousse that stiffens the lace region and reveals the lace edge. For a natural finish, alternate lengths and directions of baby hairs rather than cutting uniform stubs. Use a small toothbrush or edge brush, and press gently with a low-heat flat iron over a silk cloth to set into place if necessary.
Human-hair frontal wigs can be dyed, bleached, and heated, but proceed with caution. Always deep condition after chemical processing. Use heat protectants before styling; keep flat iron temperatures moderate (below 350°F/175°C when possible) to avoid drying and frizzing the strands. If you plan to lighten the lace knots, use a professional or follow meticulous DIY instructions to avoid over-bleaching and shedding.
Problem: visible lace edge—try re-tinting the lace, apply thinner layers of adhesive, or use a lighter hand with powder to blend. Problem: lifting corners—check that skin is dry and oil-free, reapply tape strip or small glue dabs at the lifting spot, or add an elastic band. Problem: excess density at the hairline—subtle thinning and strategic plucking will help. Problem: shedding after knot bleaching—reduce processing time and use bond-building treatments on the hair before and after lightening.
Once your frontal is applied and blended, experiment with parts, updos, and textured looks. Deep side parts and middle parts are possible if the frontal has enough parting space. For ponytails and buns, secure the pony with a hair tie and tuck the frontal's lace under while keeping the base blended. Use light-hold styling products to keep flyaways in check without creating buildup at the lace edge.
Underneath the frontal, your natural hair and scalp need breathing time. Rotate adhesive methods if you can, avoid constant high-tension tracks, and moisturize the perimeter hairline. Use a nutrient-rich oil on your scalp during non-wear periods and consider protective styles like loose braids between frontal installs to reduce friction.
Many prefer professionals for initial installs, bleaching knots, and hairline customization, especially for special events. However, with the right tools and step-by-step patience, a skilled DIY wearer can achieve similar results. Whether you choose salon installation or a home application, focus on hygiene, proper product choice, and careful customization to get the best from your frontal wig.
Investing in a higher-quality human-hair frontal wig often pays off with longer wear, better styling versatility, and a more natural appearance. Synthetic frontals are more affordable but lack the same heat styling options and longevity. While adhesives, professional installs, and maintenance incur extra costs, the right regimen can keep a frontal in excellent condition for months or longer depending on usage and care.
If you live in humid climates or engage in frequent sweating or water activities, tape might be more practical than glue for quick reapplication, or consider a hybrid method with reinforced sew-in tracks. For everyday wearers who prioritize swimming and heavy activity, ensure the chosen adhesive and hair maintenance products are water-resistant and designed for longevity.
For ultimate realism, ask a stylist or learn to ventilate additional hair into the lace to create unique parting or density where you want it. Hand-tying extra hairs can increase longevity in heavily styled areas and allow for multi-directional parting. Baby-hair artistry involves shaping and occasionally tinting hairs to mimic natural light reflection—work conservatively.
To get the best result from your frontal wig, start by selecting appropriate lace, size, and hair grade. Customize the hairline by bleaching knots cautiously, plucking with restraint, and tinting the lace to match your scalp. Choose an application method aligned with your lifestyle: adhesive methods for a seamless melt, sew-ins for durable wear, or hybrids for the best of both. Maintain the piece with gentle cleansing, proper storage, and careful reapplication techniques, and style with gentle heat and holding products to keep the hair healthy and believable.
Longevity varies: adhesive installs can last 1–3 weeks on average depending on glue type, activity, and maintenance. Sew-in or hybrid installs can last 4–8+ weeks with proper care. Higher-quality hair lasts longer when cleaned and conditioned regularly.
Bleaching knots makes the lace appear more like scalp and reduces knot visibility, but it weakens the knot and may increase shedding. If attempting at home, bleach conservatively or have a professional perform the procedure.
Daily wear is possible but recommend rotating units, giving your natural hair breaks, and practicing excellent scalp hygiene. Use investment-grade pieces and rotate adhesives or methods to protect your edges.
By following the techniques above, prioritizing customization and correct adhesive or sewing methods, and applying smart maintenance, you can achieve a convincing, long-lasting hairline with a frontal wig that boosts confidence and styling versatility.