If you're researching how to make a lace wig and want a clear, detailed path from materials to the final, natural-looking hairline, this exhaustive guide walks you through every stage with practical tips for beginners and advanced makers alike. The aim is to help you build a lace wig that looks like custom salon work, retains longevity, and sits comfortably. Read on for comprehensive instructions, troubleshooting, and pro-level finishing techniques that elevate a homemade lace front to a realistic, wearable piece.
Making a lace wig yourself gives you complete control over hair density, parting placement, hairline shaping, and overall quality. Custom ventilation and knot size selection lets you mimic natural growth patterns, while bespoke coloration ensures the scalp illusion is convincing. When you learn how to make a lace wig, you can tailor base size to unique head measurements, choose between transparent or medium brown lace, and select hair grade and texture to match desired outcomes.
This long-form tutorial is structured so you can jump to the parts you need: materials, tools, cap making, knotting (ventilation), knot treatment (bleaching and tinting), hair styling and cutting, installation, care, and troubleshooting. Each section contains step-by-step notes and professional tips so both beginners and pros can achieve a natural finish.

Before you begin knotting hair, measure head circumference, hairline front-to-back, and ear-to-ear to cut lace precisely. Map out where you want the center part, side part, and baby hairs. A well-drawn template prevents rework. If making a full lace unit, mark sections for ventilation density: lighter density at the front hairline, moderate density in the mid-scalp, and higher density at the crown if you want an appearance of thicker growth.
Begin by sizing the stocking cap to the head and placing the chosen lace over it. If you are creating a foundation from scratch, stitch a comfortable elastic band around the perimeter to anchor the lace. Trim excess lace carefully leaving about 1/8 to 1/4 inch at the hairline to work with during installation. For a transparent finish, use light-tinted toners on medium brown lace or use a darker lace for deep skin tones. Label and secure the lace on a wig head or foam head for ventilation.
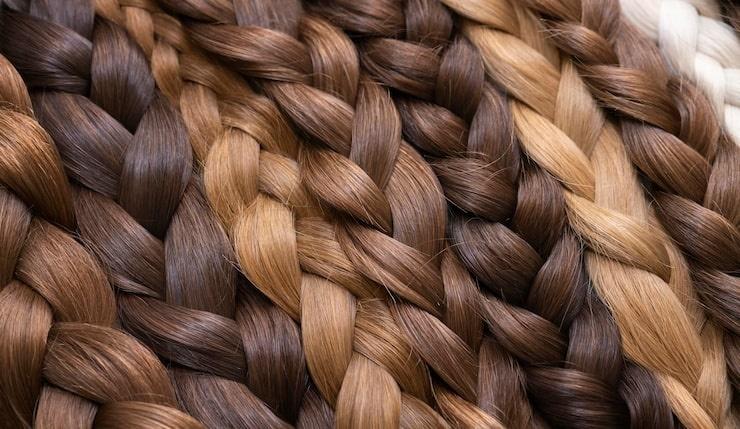
Ventilating is the process of knotting single strands of hair into the lace to simulate natural hair growth. You can either hand-ventilate with a small hook or use a ventilating machine. Hand-ventilating offers more control and is ideal for customizing individual knots, while a machine can speed up production but may create uniform knots that look less natural. Decide the knot type: single knot (lighter look), double knot (stronger hold), or split knot for extra realism. You will perform different knot densities for the front lace, parting, and crown.
Start with the front hairline: create single knots spaced irregularly in a staggered pattern to mimic baby hairs and sparse growth. Use smaller, less-dense knots at the temple to avoid a blunt hairline. For the parting area, knot in the direction you want the hair to fall, using slightly increased density for fullness. The mid-scalp and crown can have denser knots to provide volume and durability. Keep a consistent rhythm and take breaks — ventilation is meticulous work and fatigue leads to mistakes.
Combine multiple techniques: delicate single knots, carefully plucked hair, and razor-textured baby hairs. After knotting, pluck strategically with tweezers along the hairline, not all at once. Plucking in small increments and sealing the lace between sessions yields a more realistic, feathered edge.
Bleaching knots reduces the visibility of black knot shadows and creates the scalp illusion. Use a mild bleach mixture and apply with precision to avoid weakening the hair shaft or degrading the lace. Typical process: mix bleach powder with developer, apply packs of plastic wrap to create localized heat, and monitor progress every 5–10 minutes. Remove bleach as soon as knots are sufficiently lightened. Follow with a toner or purple shampoo if brassiness appears. Caution: over-bleaching damages hair and lace — test on a sample before full application.
Once knots are bleached and lace is tinted properly, cut the lace close to the knot, leaving a minimal margin. Use small, sharp scissors for precision. Create baby hairs by pulling small sections from the front and trimming them with a razor or thinning shears to achieve realistic tapered ends. For a natural finish, create uneven lengths rather than a uniform fringe. Blend hairline density using thinning shears to remove excess bulk and to create movement.
Lace tinting is crucial so the lace blends with the wearer's scalp. Options include fabric dye, lace tint sprays, makeup (foundation or concealer), and airbrushing. For long-term wear, mix a dye that matches scalp tone and apply sparingly. Seal with a light layer of clear wig glue or lace adhesive for protection and to minimize color transfer. When coloring hair, use professional-grade dyes and test on a small bundle to ensure desired shade and minimize damage.
To make the wig durable, reinforce the interior base where tension is highest: sew an elastic band across ear-to-ear, add a circular track at the crown for better hold, and reinforce edges with a tight overcast stitch. If you plan to remove and apply the wig frequently, consider sewing an inner silicone strip for grip. Ensure interior seams are comfortable and flat to avoid irritation during wear.
Style the hair while the lace unit is on a mannequin head to mimic how it will look on a person. Use heat tools on heat-friendly human hair, and be mindful of applied chemical treatments. Layer and shape the wig with thinning shears or texturizing razors to add movement and reduce bulk. If adding bangs or face-framing layers, cut conservatively and refine in multiple small steps rather than large cuts.
For ultra-realistic results, add irregular parting density and slightly vary hair direction in the frontal 1–2 inches. Use low-heat bonding to flatten knot ridges and a toothbrush with edge control to define baby hairs. Finish with light serum to reduce frizz and enhance sheen, but avoid heavy oils near the lace to prevent slippage of adhesives.
Applying your handmade lace unit properly ensures a natural look and longer wear. Prepare the client or model by cleaning the hairline and applying scalp protector if necessary. Use tape or medical-grade adhesive for long-term wear or wig glue for temporary days. Press lace carefully onto the skin, and allow adhesive to set according to product instructions. Use concealer that matches the scalp in the parting and capture a seamless transition. Check for lifted edges and reapply adhesive where needed.
Wash the wig with sulfate-free, color-safe shampoo and conditioner. Detangle gently from tips to roots and let it air dry on a mannequin or wig stand to preserve hair direction and ventilation. Avoid excessive heat styling to prolong life. Store on a head form or in a breathable bag and avoid folding the lace. Reapply protective finishes and occasionally adjust knots that loosen over time.
For salon-grade wigs, consider ventilating with multiple hair textures blended for realism (e.g., 80% straight, 20% wavy). Add micro hand-tied wefts near the crown for density without increasing frontal knotting time. Create a scalp shadow effect by adding a very light, sparse knot pattern beneath the primary part; this imitates natural scalp depth. When replicating ethnic textures, pick hair that accepts chemical processing predictably and select lace types that match planned installation styles.
Single knots look most natural but can loosen over time; double knots last longer but are slightly more visible. Split knots combine benefits by producing a softer appearance with durability. Consider the intended lifespan: fashion wigs for occasional wear may prioritize appearance, while wigs intended for long-term daily wear should prioritize reinforced knotting and seamed edges.
If you intend to publish tutorials or sell custom lace units, optimize product pages and articles by including the phrase how to make a lace wig in H2 headings and scattered naturally in descriptive paragraphs (not keyword stuffed). Use alt attributes on images showing key steps, add step-by-step markup if your site supports structured data, and include before-and-after photos with descriptive captions. Create instructional video content and transcript text to enhance SEO signals and accessibility.
Advise clients to cleanse the skin under the lace every few days, avoid oily products directly on the lace edge, and to keep adhesives clean to minimize odor and residue buildup. Recommend silk or satin pillow protection to reduce tangling and mechanical stress.
Swiss lace: soft, breathable, reasonably durable; HD lace: ultra-thin and photo-friendly but delicate; French lace: heavier and more durable; Remy hair: maintains cuticle alignment for longer life. Knowing material trade-offs helps you select the best base for each project.
With practice, the techniques above will become more efficient. Begin by making a simple frontal piece, then advance to full lace conversions and bespoke wig crafting. Practical skills like consistent knot tension, careful bleaching, and strategic hairline plucking will transform a DIY piece into a convincingly natural unit.
The craft behind how to make a lace wig blends patience, precision, and artistic judgment. Whether you're building a single customized wig or producing units for clients, methodical attention to ventilation patterns, knot treatment, lace tinting, and installation will deliver an authentic, wearable, and repeatable result.