Beginner's Step-by-Step Guide to Wearing Wigs for a Natural, Secure Fit
If you've ever wondered how do you put a wig on so it looks natural, stays secure, and feels comfortable, this long-form guide will walk you through everything from preparation to finishing touches. The process of putting on a wig can be simple or technical depending on the type of wig, adhesive choices, and individual preferences. Below you'll find an in-depth, user-friendly walkthrough that addresses common questions, useful tips, troubleshooting, and maintenance strategies to keep your wig looking fresh and realistic.
Overview: Why a Proper Application Matters
Understanding why proper application matters is the first step toward mastery. A correctly applied wig anchors to your head, mimics natural hair growth, and prevents slippage during daily activities. Whether you choose a lace front, full lace, or a machine-made wig, the method you use affects comfort, longevity, and realism. This guide is optimized to help you answer the core query: how do you put a wig on, and will include variations for different wig constructions and user needs.
What this guide covers
- Preparation and scalp care
- Base methods: wig caps, adhesives, and clips
- Step-by-step application for lace and non-lace wigs
- Blending and styling for a natural hairline
- Common problems and fixes
- Aftercare and storage
Step 1 — Preparation: Clean, Protect, and Plan
Start with clean hair and a clean scalp. Sebum, oils, and styling products can reduce adhesive performance and create slip. If you have long hair, braid or wrap it flatly, then use a wig cap to create a smooth, low-profile base. A wig cap not only protects your hair but also helps the wig grip. Many beginners ask how do you put a wig on without a cap; while you can, using a cap usually produces a neater, more secure result.
Detailed preparation steps
- Wash and dry your hair the night before to minimize oiliness.
- If you use adhesives or tape, clean the perimeter with an alcohol wipe or a scalp cleanser recommended for prosthetics.
- Secure long hair into low braids or flat twists and pin close to the scalp.
- Place a wig cap over your hairline, tucking any loose strands. Choose a cap color that matches your scalp for best realism.
Step 2 — Choosing Your Attachment Method
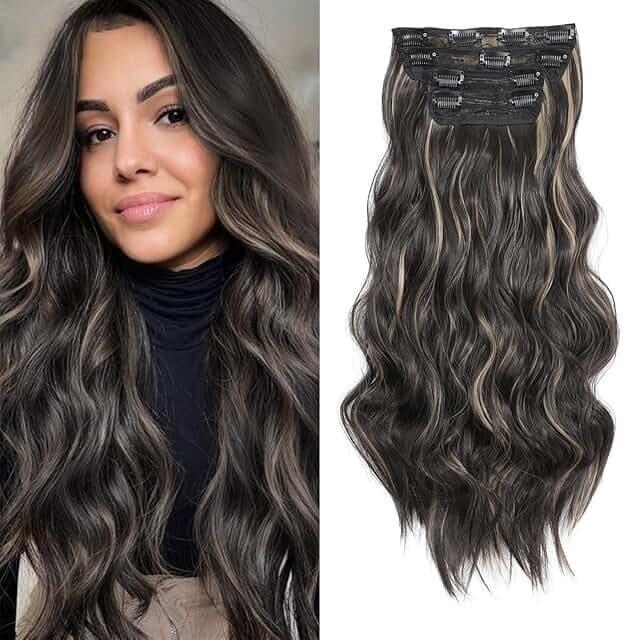
There are three common attachment methods: clips/combs, wig tape, and liquid adhesive (glue). Your choice depends on wig type, scalp sensitivity, and intended duration of wear. For lace wigs, many prefer liquid adhesive for the most natural hairline; others favor tape for easier removal. If the question in your mind is how do you put a wig on for a quick temporary look, clips or combs inside the cap might be the fastest option.
Pros and cons
- Clips/Combs: Quick, no adhesive needed, best for short-term wear; less secure if you sweat or are active.
- Tape
 : Easy to apply, good hold for days; requires skin-safe tape and careful removal.
 - Liquid Adhesive: Provides the most natural, flat hairline and excellent hold; requires prep and proper removal etiquette to protect the skin.
Step 3 — Positioning the Wig
To place a wig correctly, align the front edge of the wig with your natural hairline or the desired position for the frontal. If you're using a lace front, place the lace slightly in front of the hairline and then trim the lace carefully after securing. Many search engines get queries like how do you put a wig on because people want to know exact alignment—here's the practical approach:
How to align:
- Hold the wig at the nape and the front. Tilt your chin slightly up and slide the wig forward over the crown to the forehead.
- Once the front feels aligned, pull the back down over the nape and adjust ear tabs to sit just above your ears.
- Make small tweaks—push or pull—until the hairline looks natural. If using adhesives, only press down after the glue or tape is ready.
Step 4 — Securing a Lace Front Wig
Lace fronts are prized for a realistic hairline. The technique below answers the repeated question how do you put a wig on when you want a seamless look.
Materials you'll need
- Alcohol wipe or scalp cleanser
- Protective barrier spray or skin protector (optional for sensitive skin)
- Liquid adhesive or lace tape
- Blow dryer (for curing adhesive)
- Edge brush and hair gel for blending
Step-by-step for glue:
- Clean the perimeter of your scalp with alcohol wipes. Let dry.
- Apply a thin layer of skin protector if you use one and allow to dry.
- Place a thin bead of adhesive along the hairline, keeping it even.
- Allow the adhesive to become tacky—about 30 seconds to a minute, depending on the product—and press the lace down gently from the center to the sides.
- Use a blow dryer on low heat to accelerate curing and ensure the lace sits flat against the skin.
A common beginner mistake is over-applying adhesive; less is often more. After the lace is secured, trim any excess lace carefully and use foundation or concealer to match the lace color to your skin if needed.
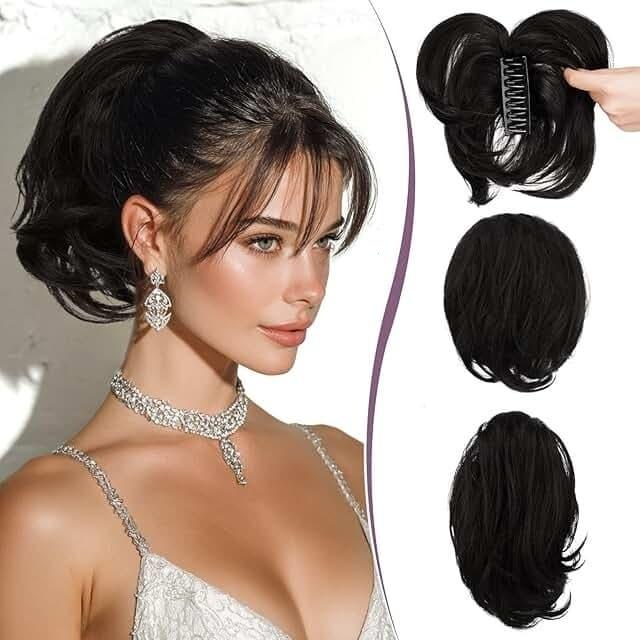
Step 5 — Securing Non-Lace and Machine-Made Wigs
For wigs without lace fronts, securing correctly still matters. These wigs typically have built-in combs and adjustable straps. Ask yourself how do you put a wig on so that it won’t slip: tighten the adjustable straps, use the internal combs, and consider low-profile wig tape along the perimeter for extra security.
Tips for a snug fit
- Adjust straps at the nape to fit comfortably but firmly.
- Sew in additional combs or elastic bands if you need a custom hold.
- If you have short hair, double-cap (thin inner cap + wig cap) for added grip.
Step 6 — Blending and Styling for Realism
After securing the wig, blending the front and part lines ensures a natural appearance. Styling completes the look and answers the practical application portion of how do you put a wig on.
Blending techniques
- Trim baby hairs from the frontal to create a softer hairline if necessary.
- Use a small amount of concealer or foundation along the part to imitate the scalp.
- Lightly tease roots near the part for depth, and use a flat iron on heat-safe synthetic or human hair wigs to shape layers.
Subtlety is key: avoid heavy makeup or product directly at the hairline, as it can create unnatural contrast.
Step 7 — Troubleshooting Common Problems
If your wig lifts at the edges, becomes itchy, or looks unnatural, diagnose the problem first. Many people ask how do you put a wig on when troubleshooting—here are quick fixes:
Lift at the edges
Problem: Insufficient adhesive or wrong placement. Fix: Clean the area, reapply a small amount of adhesive or double-sided tape, press and cure with low heat.
Visible lace
Problem: Lace not trimmed properly or mismatch in lace shade. Fix: Trim lace close to hairline, use lace tint spray, or apply foundation to the lace.
Itching or irritation
Problem: Sensitivity to adhesive or scratchy lace. Fix: Use a skin protector barrier; consider switching to hypoallergenic tape adhesives or a soft cap liner.
Step 8 — Daily Care and Long-Term Maintenance
Maintenance extends the life of your wig and preserves a natural appearance. Whether your priority is how do you put a wig on quickly each morning or how to secure it for extended wear, routine care makes a major difference.
Daily quick care
- Brush gently with a wide-tooth comb or wig brush starting from the ends to avoid tangles.
- If you sweat, use a spray-on refresher or mild shampoo to cleanse the cap after several wears.
- Allow adhesives to be removed properly at recommended intervals to prevent hairline damage.
Long-term care
- Store the wig on a stand or mannequin to maintain shape and prevent creasing.
- Wash a human-hair wig every 8–12 wears and a synthetic wig every 6–8 wears depending on use.
- Condition human-hair wigs to keep strands supple and prevent drying; avoid heavy oils near the cap.
Special Considerations: Medical Hair Loss and Sensitive Skin
For those facing medical hair loss conditions or sensitive skin, techniques and product choices must be more cautious. Low-traction caps, medical-grade adhesive, and consultation with a trichologist or dermatologist are recommended. If you worry about "how do you put a wig on" without irritating your scalp, test adhesives on a small patch of skin first and consider non-adhesive alternatives like medical acrylic caps or securement with soft wig grips.
How to Remove a Wig Safely
Removal is part of the application lifecycle and often overlooked. For those asking how do you put a wig on successfully, knowing how to remove it avoids damage to the lace and your natural hair.
Removal steps for tape or adhesive
- Use a remover solvent recommended by the adhesive manufacturer.
- Apply remover along the hairline, allow it to dissolve the glue, and gently lift the lace.
- Clean residual adhesive from both skin and lace with a gentle adhesive remover.
Never rip off a glued wig; this can cause significant trauma. Patience and correct solvents matter.
Pro Tips and Professional Hacks
Experienced stylists answer the same common question—how do you put a wig on—with advanced tricks you can learn at home:
- Use a wig liner or silicone cap for wig wearers who sweat frequently—this keeps adhesive from breaking down.
- Sew an adjustable elastic band from ear to ear inside larger wigs for a snug, custom fit.
- Create micro-baby hair pieces sewn into the lace for a unique, realistic hairline.
These refinements manage both comfort and aesthetics.
Choosing a Wig According to Lifestyle
Consider your daily activities when choosing how to secure your wig. For active lifestyles, strong adhesives or a sewn-in elastic are useful; for occasional use, clips or a snug fit may suffice. Asking yourself "how do you put a wig on" paired with "how long will I wear it each day" clarifies the best method to use.
Cost Considerations and Value
Quality wigs and the right adhesives can be an investment. Cheap tapes and poor-quality lace can cause frustration, which leads many to ask repeatedly how do you put a wig on in online forums. Balance price with longevity: human-hair wigs and professional adhesives cost more but yield superior realism and durability.
Summary Checklist
Use this short checklist whenever you get ready to put on a wig:
- Cleanse and prepare your scalp
- Secure hair under a cap
- Align the wig to your natural hairline
- Choose and apply your adhesive or fasteners
- Trim lace or baby hairs as needed
- Blend the hairline with makeup
- Style gently and secure loose edges
Key SEO-friendly Note
For those searching how do you put a wig on, this article intentionally uses that search phrase in relevant headings and descriptive text to mirror practical queries. The repeated, natural use of the phrase inside strong and em tags, as well as within
and elements, supports search relevance while preserving readability.
Frequently Asked Questions
Q1: Can I put a wig on without any adhesive?
A1: Yes. Many wigs come with adjustable straps and internal combs which, when combined with a snug wig cap, can keep a wig secure for daily activities. However, adhesive or tape provides a flatter, more natural hairline for lace front wigs.
Q2: How long does a glued wig hold?
A2: The duration depends on the adhesive quality, your skin type, and activity level. Some adhesives hold for several days to weeks with proper care; others are meant for daily reapplication.
Q3: Is it hard to learn how do you put a wig on if I'm new?
A3: Not at all. With practice, basic techniques for positioning, securing, and blending become intuitive. Start with a non-adhesive method, practice alignment and trimming, then progress to tape or glue when comfortable.