If you've landed here looking for an affordable, beginner-friendly way to create an eye-catching costume hairpiece, this extensive guide will walk you through simple materials, clear techniques, and creative variations. At the core of the method is the phrase how to make paper wig — a concise search term you might use when seeking do-it-yourself alternatives to store-bought cosplay wigs. This article expands on that concept with practical steps, troubleshooting pointers, design ideas, and finishing touches designed to optimize your project both for aesthetics and for web discovery.
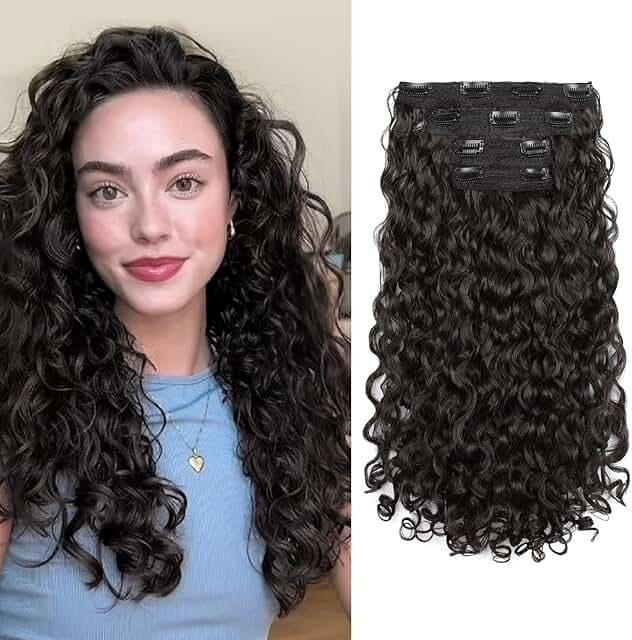
There are many reasons cosplayers, crafters, and theatrical designers explore paper as a medium for hairpieces. Paper is inexpensive, lightweight, biodegradable, and highly customizable. Whether your goal is a quick prototype for a character, a sustainable prop for a photoshoot, or an educational craft to practice shaping techniques, knowing how to make paper wig equips you with a flexible skill set. Unlike synthetic wigs that require special combing and heat, paper hairpieces can be sculpted, glued, layered, painted, and sealed to produce diverse textures that read well on camera.
Before you begin cutting or gluing, plan the hairstyle and scale. Sketch a silhouette or collect reference images. Decide whether the paper hairpiece will be purely decorative or wearable; this affects how you build the cap and how much reinforcement you add. For wearable pieces, include anchoring features such as elastic loops, comb inserts, or sewn-in tape that can grip an under cap.
The cap is the foundation that defines shape and comfort. Use thin cardboard or layered cardstock to trace a comfortable head circumference. Cut a dome shape that fits over your wig stand or mannequin. For flexible wear, make a cap from kraft paper or laminated tissue layers, reinforcing the edge with folded paper tape or fabric bias tape. Secure with hot glue at key points so the cap holds curvature. This cap must be lightweight but firm enough to accept glued paper strips and additional layers.
Cut long strips of your chosen paper width depending on desired thickness: 3–8 mm for fine strands, 8–20 mm for chunky locks. For a realistic drift, taper strip widths at the ends. Fold each strip lengthwise or accordion it for ridges and volume. If aiming for curly effects, roll strips around a dowel or pencil and set them with a small dot of glue at the base. Remember the keyword how to make paper wig as you refine techniques: exploring multiple strand textures in one project often produces the most convincing results.
Start at the nape and work upward in rows. Apply a bead of glue along the strip base and press onto the cap. Overlap rows slightly to avoid gaps and produce a layered effect. For bangs or frontal shapes, cut shorter strips and glue them horizontally, then comb or shape into place with fingers or a bone folder. Keep the glue minimal to prevent warping; for durability, allow each small section to dry before adding the next row.
Once major coverage is complete, bend, twist, and curl strands to sculpt the final silhouette. Use a damp brush and gentle curling motions for paper types that respond to moisture (test on a scrap piece first). Add reinforcements where strands meet to prevent peeling. If you aim for gravity-defying shapes common in anime or fantasy cosplay, insert thin wire or stiff paper rods inside folded strips to maintain pose.
Paint transforms raw paper into convincingly dyed hair. Water-based acrylics work well; dilute for washes to let paper grain show through for realism. For soft gradients, sponge or airbrush layers, finishing with a clear matte or satin sealer to protect against humidity and handling. If you need metallic, pastel, or iridescent effects, combine pigment powders with varnish or use specialty spray paints in light coats to avoid saturating the paper.
Understanding variations is a core part of learning how to make paper wig. Here are adaptations tailored to specific cosplay needs:

Warping: If paper warps due to glue, press it flat under a weight while drying and consider using less water-based glue next time.
Loose strands: Reinforce bases with a dab of hot glue or stitch the root to the cap using a strong thread.
Fading: Protect paint with UV-resistant sprays and avoid prolonged sunlight exposure.
Unexpected tears: Layer a thin strip behind the tear and glue it as a backing to restore surface integrity.
To push beyond a simple build, combine paper with other materials for realism and strength: silicone or latex tips for flexible hair ends, synthetic wefts for blended texture, or fabric pulses to simulate silkier hair. You can add LEDs beneath translucent paper layers for a glowing effect or apply metallic leaf to selected strands for accent highlights. These hybrid methods answer both performance and photographic needs while still retaining the low-cost benefits that inspire searches for how to make paper wig.
Paper hair reads differently under lights than synthetic fibers. Use softer lighting to minimize harsh shadows on ridged paper textures, and position rim lighting to accentuate shapes. Small amounts of hair oil or gloss are not recommended on paper; instead, adjust your gloss level with varnish to control reflections. For movement shots, gently fan the piece or swing the head form; heavier sealer will reduce movement but increase stability.
For event wear, plan for breaks, repairs, and transport. Bring a small repair kit: glue, a few spare strips, tape, and a sealant pen. Test-fit the piece with your costume and any headgear to ensure comfort and compatibility. When packing for travel, pack the hairpiece flat or supported by soft padding to maintain shape.
One benefit of paper-based props is recyclability. If you decide to retire a paper hairpiece, remove non-paper components (wire, tape) and recycle the rest where facilities accept mixed paper. Alternatively, salvage decorative elements like painted strands, beads, or clips for new projects. This sustainability angle is an attractive reason people search how to make paper wig as part of a broader eco-friendly crafting practice.
Materials: cardstock, white glue, scissors, paint, head form. Process: build cap, cut 6–8 cm strips, create layers from nape upward, shape ends by slight inward fold, paint and seal. This compact project demonstrates fundamental steps and is ideal for first-timers seeking to learn how to make paper wig without a large time investment.
Throughout this longform guide, the emphasis has been practical learning and repeated reinforcement of the search concept how to make paper wig so both newcomers and experienced crafters can find relevant, actionable advice. The methods above are modular: mix, match, and iterate until you discover the textures and structural choices that suit your character or performance needs.
Start small, practice techniques on scrap paper, and document each variant you make. Photography notes and quick sketches will help you reproduce successful builds reliably. Paper offers an extraordinary balance of economy and expressiveness, and with careful steps you can achieve looks that surprise viewers with their detail and durability.
Now that you have a robust set of techniques and considerations, you can confidently experiment with materials and form while keeping how to make paper wig as your guiding idea for accessible, creative headwear. Good luck with your build, and enjoy the iterative process of making, learning, and refining.